
In Studio - September 2022
OH MY! Where did the time go?? You’ve probably been wondering where in the heck I am!
Life took on crazy and left blogging behind.
I’m so sorry, friends! I took a look back and realized it was February that I put out my last blog post. Hubs and I have had to deal with Covid - UGH! It took a bit for that to get over with and I seriously dislike working on client projects when I’m not well. I don’t like taking any chances so, I close the doors and get better. Then it was back to work.
My backlog after recovery and current projects have completely kept me bouncing from one thing to another.
I’ve put together the entire memory quilt among other things since the last post. So let’s see how it went…

You can see the quilt concept to quilt becoming reality here. I love the layout part of a quilt! Seeing the ideas go from paper to the wall is an experience in and of itself.
Last time I mentioned I would talk a bit about the star block. This star block is one of the easiest to make. A big square in the center, 4 small squares in the corners and 4 flying geese blocks on the sides. WHAM BAM - It’s done!
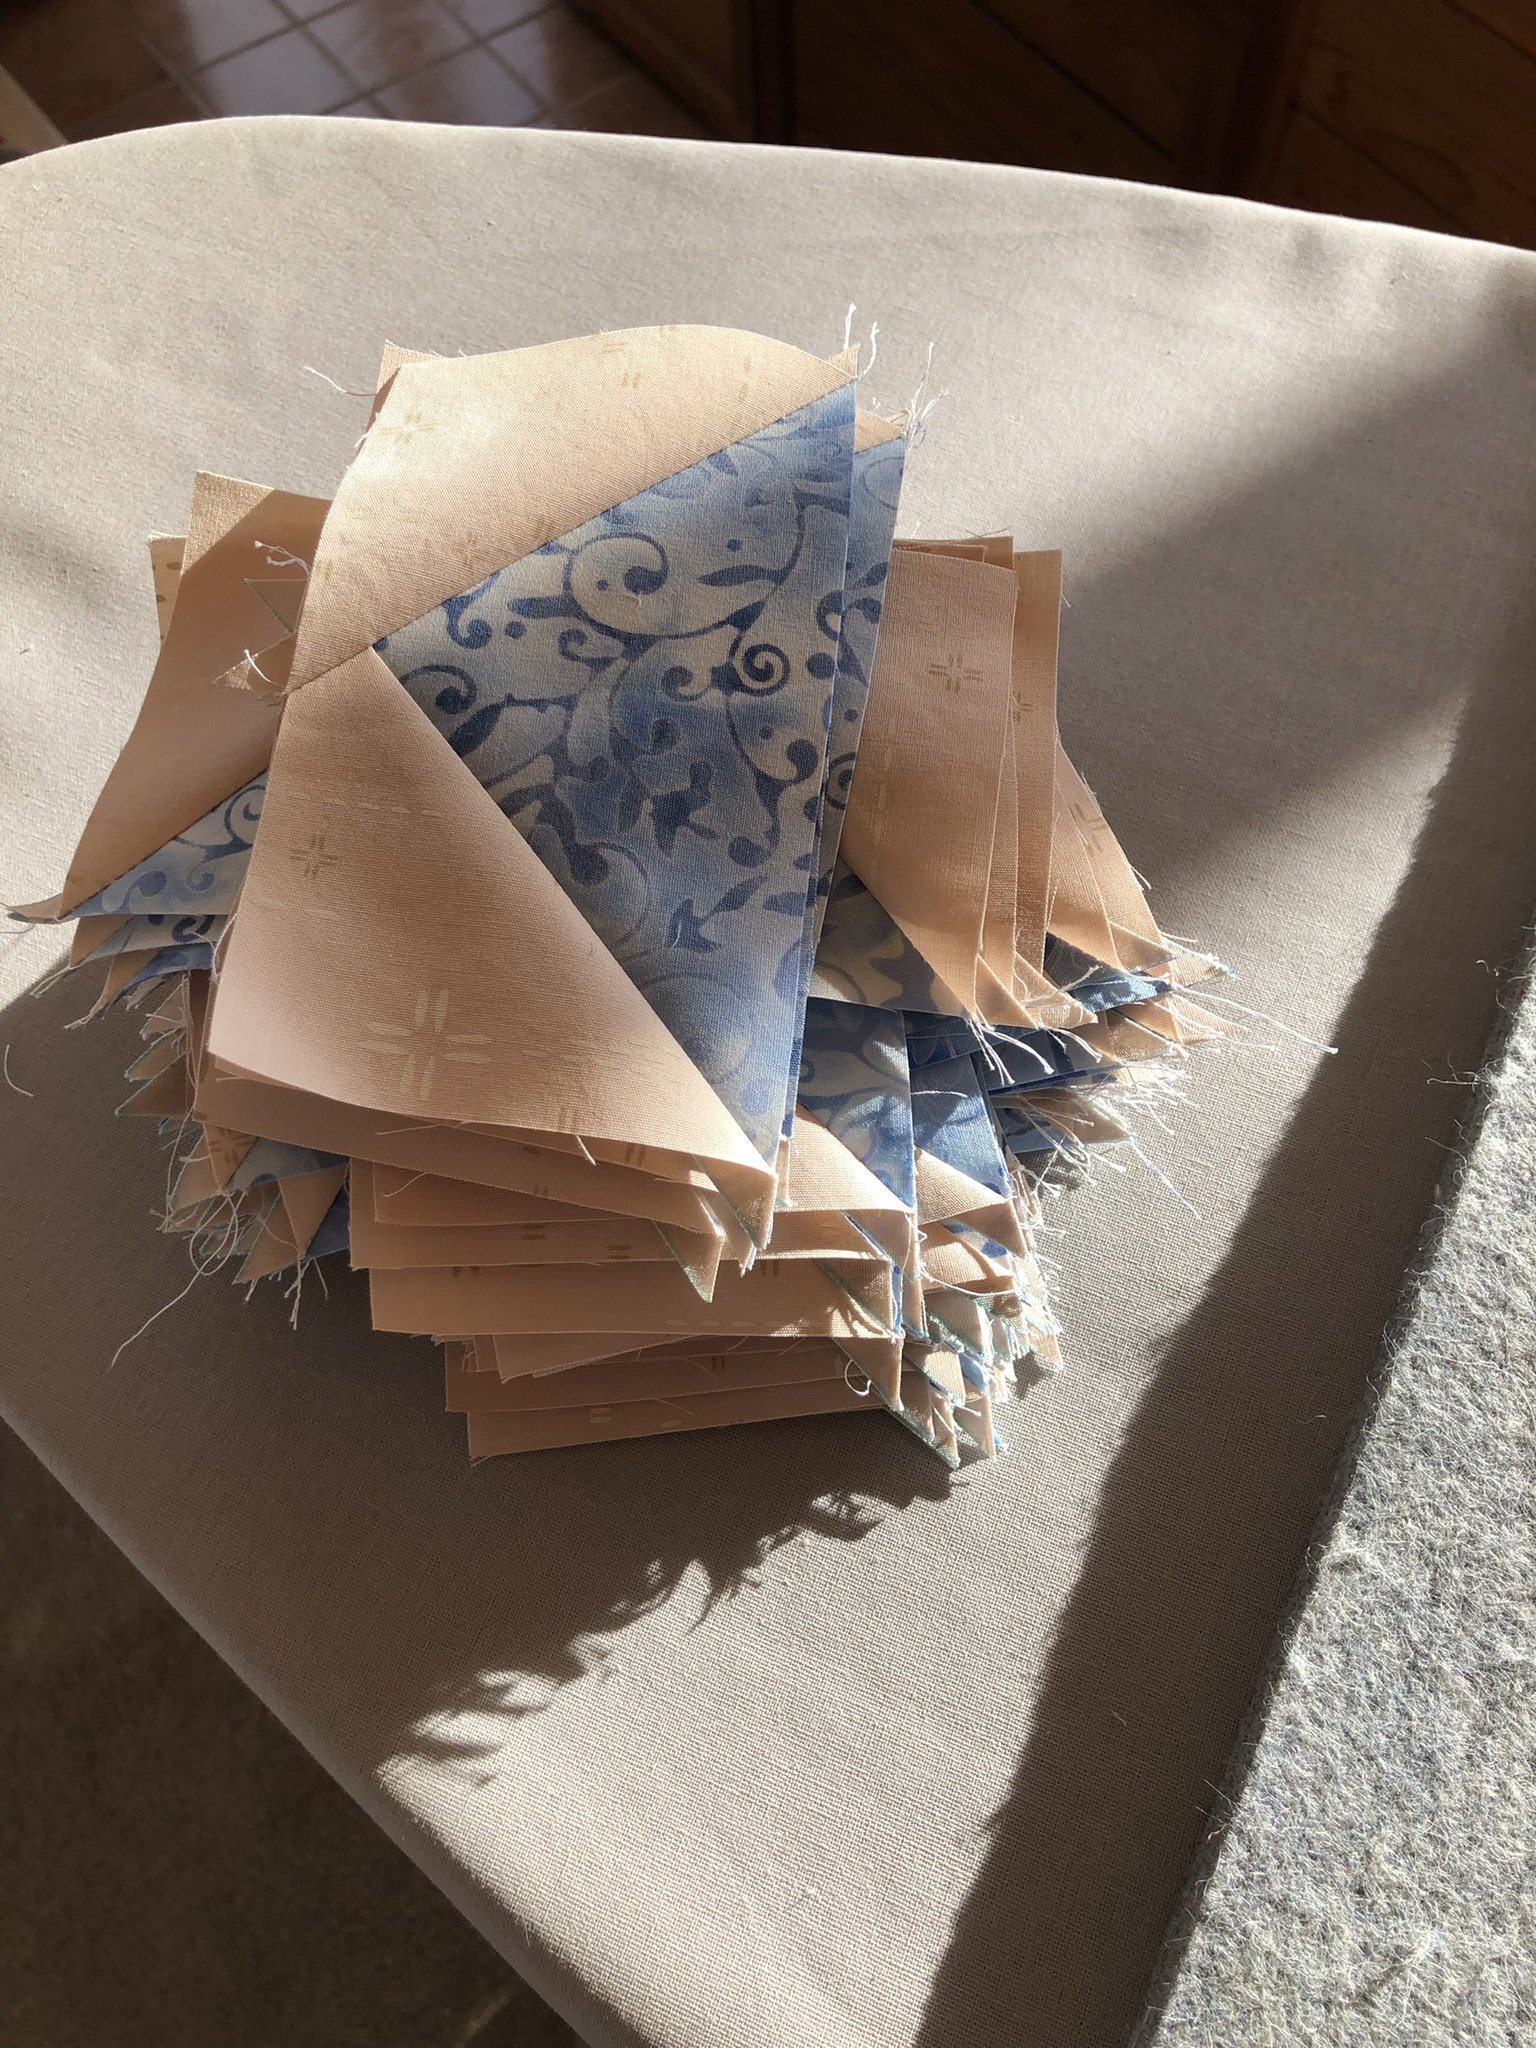
I like to start with the flying geese block. And I use the Four-at-a-time method.
There are so many instructors out there that have made videos and such describing the method so I’ll just let you drop back to my previous post and look at pictures and read or watch those videos.
And yes, I’m so OCD that I take the time to pair up 4 sets at a time. These 4 will go with each big square. They just need a little more work.
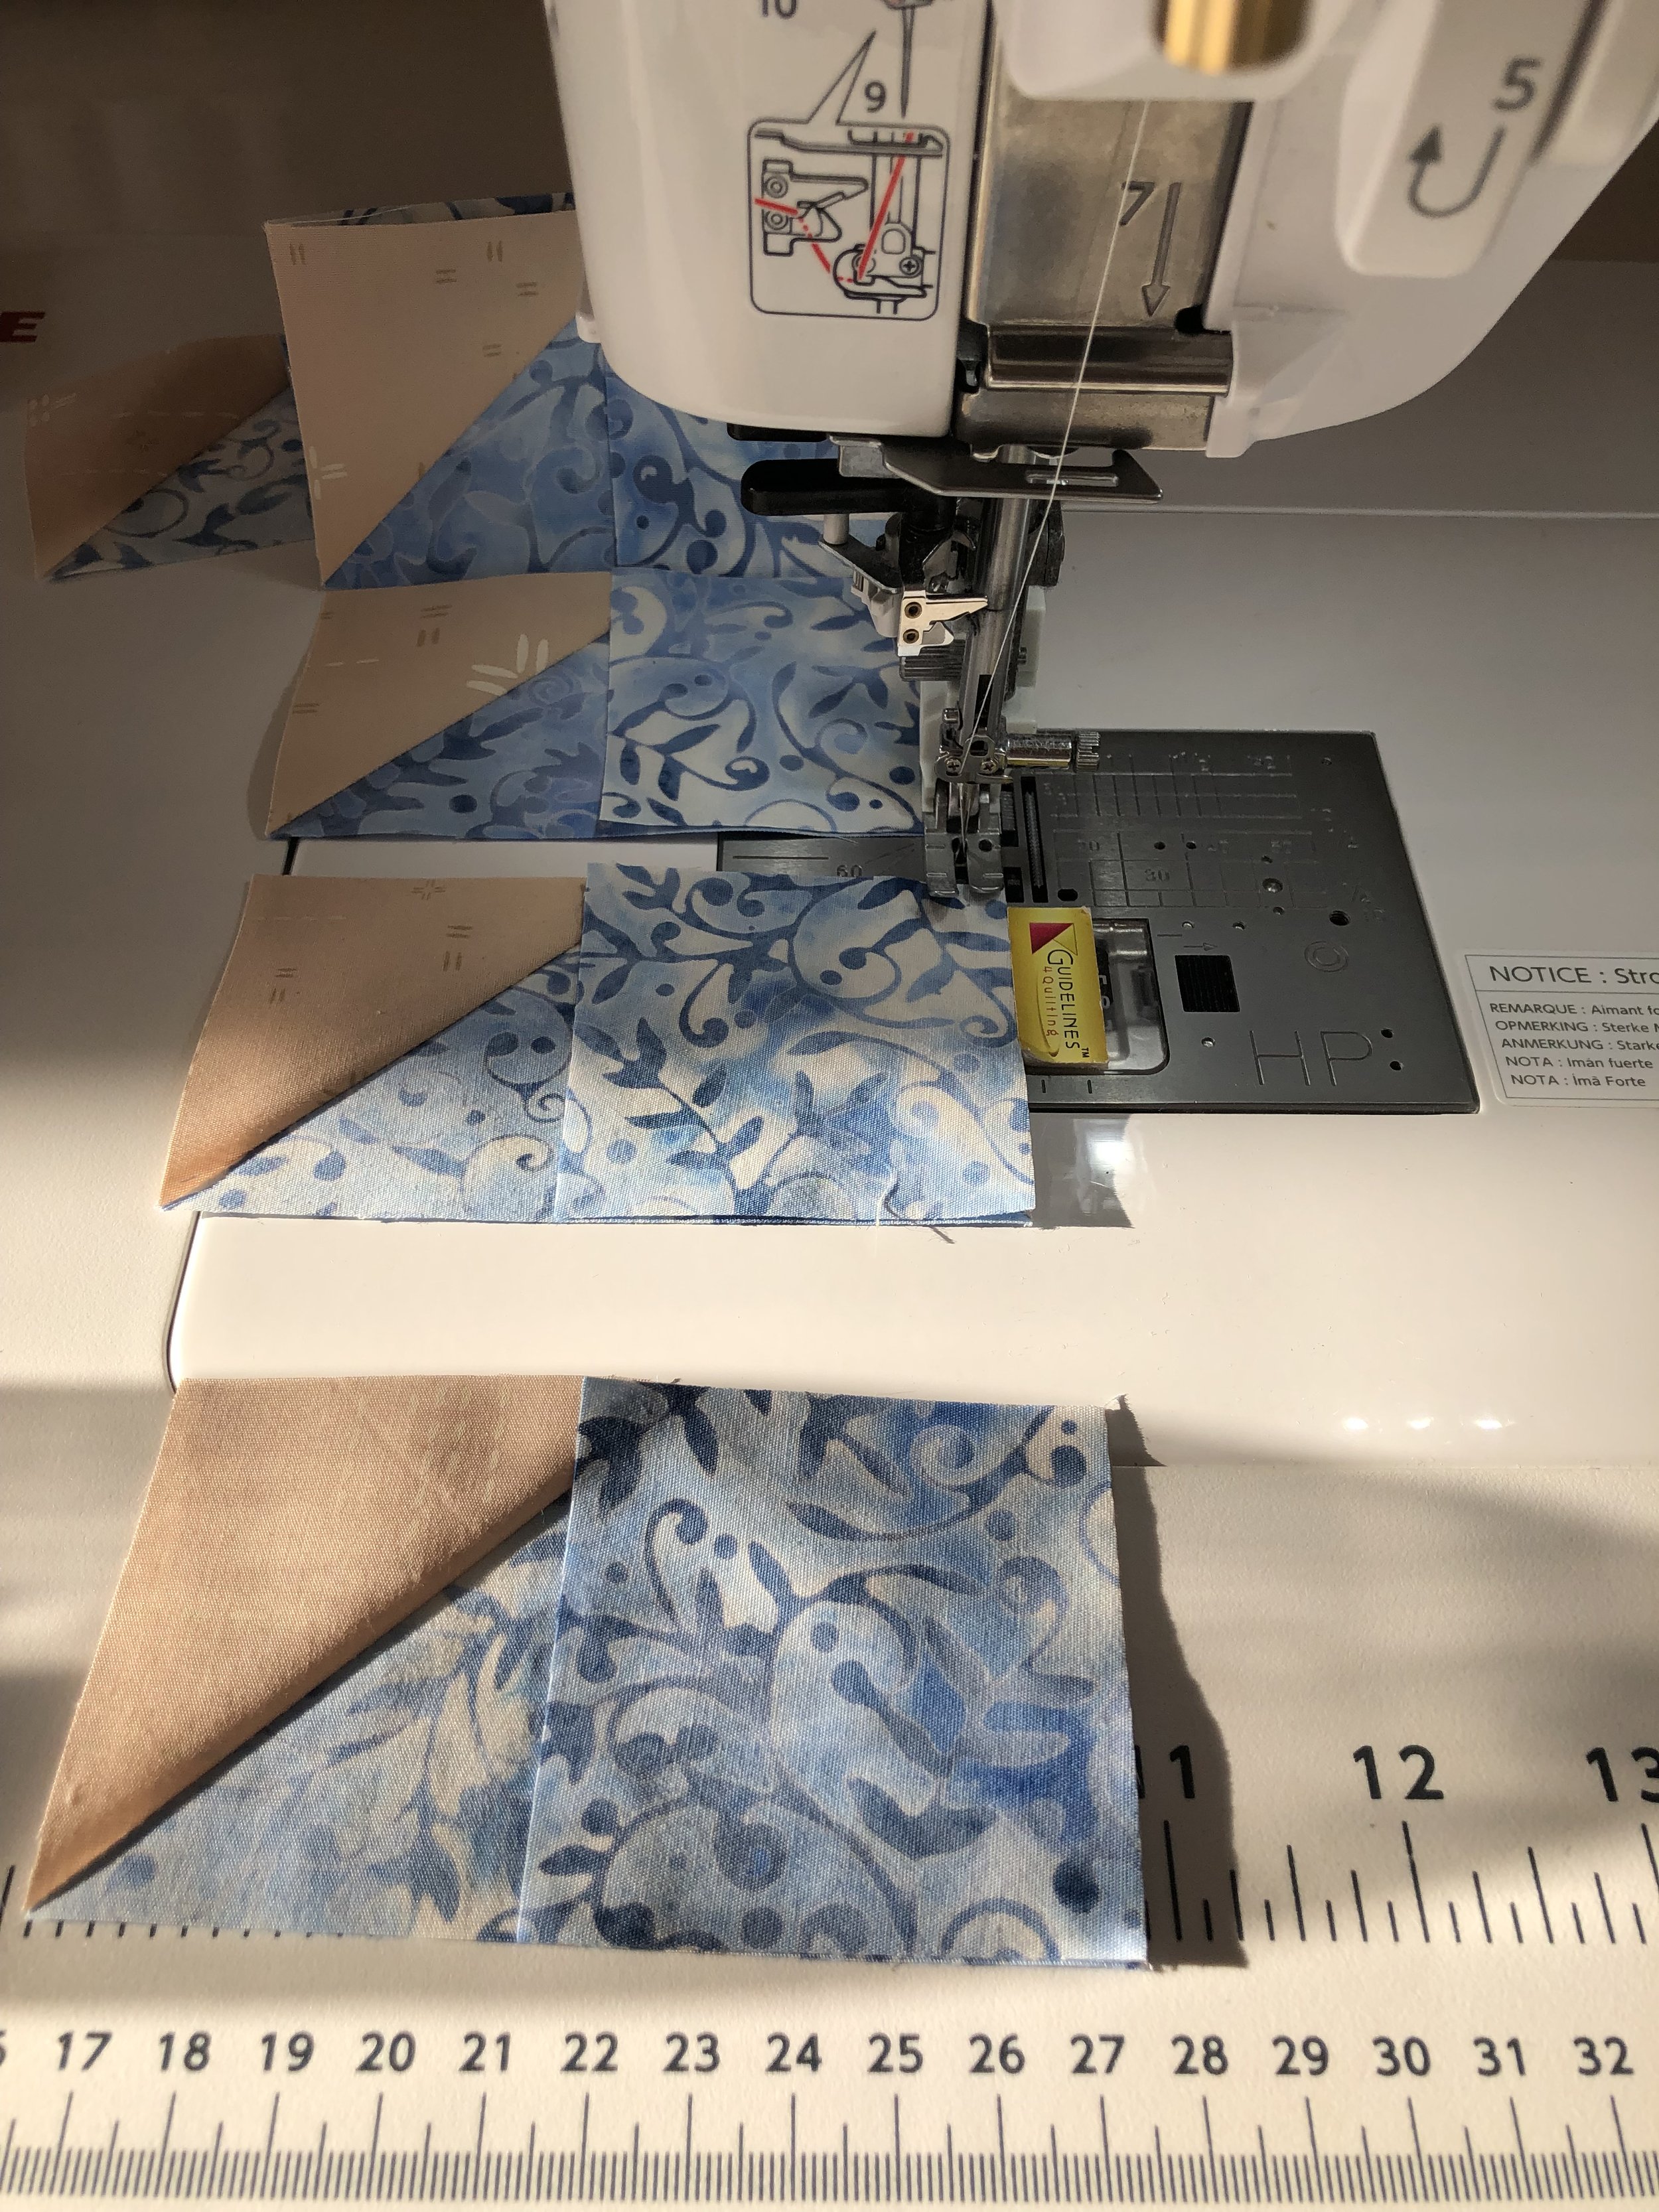
Next, I will pair 2 of these flying geese with the 4 small corner blocks.
One on each side of 2 of the flying geese blocks.
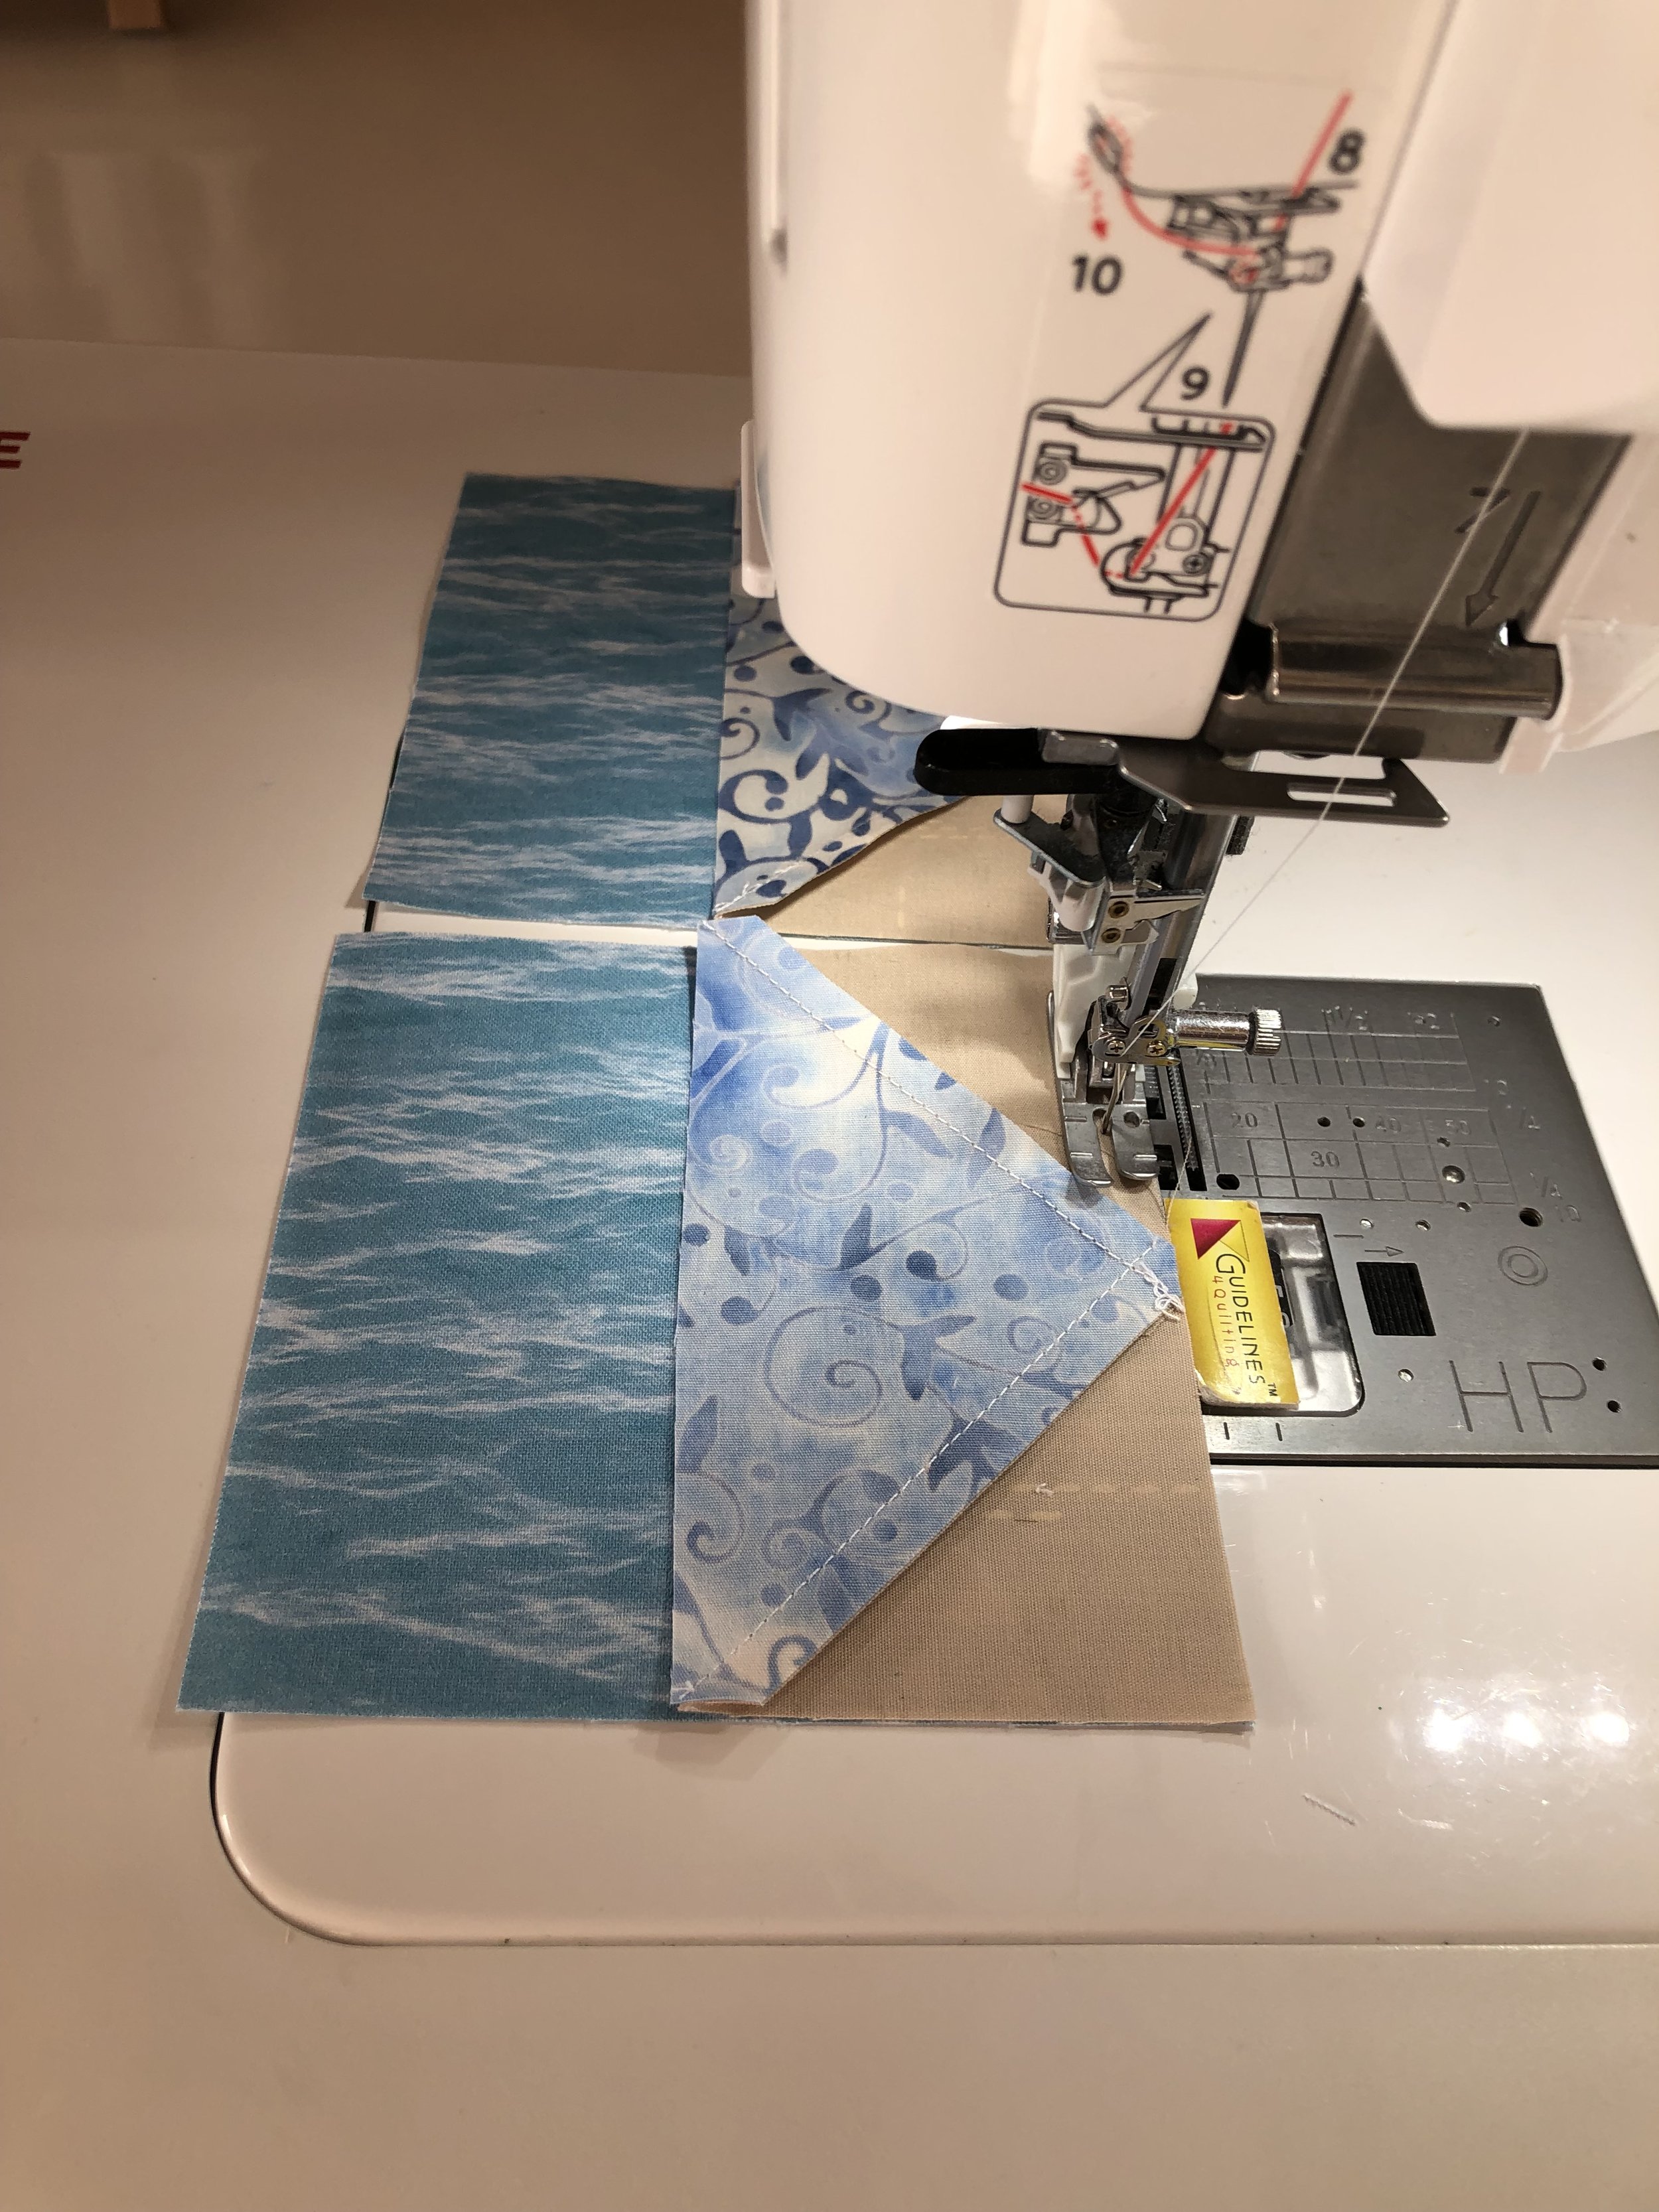
Now, let’s add flying geese blocks to each side of the big square.
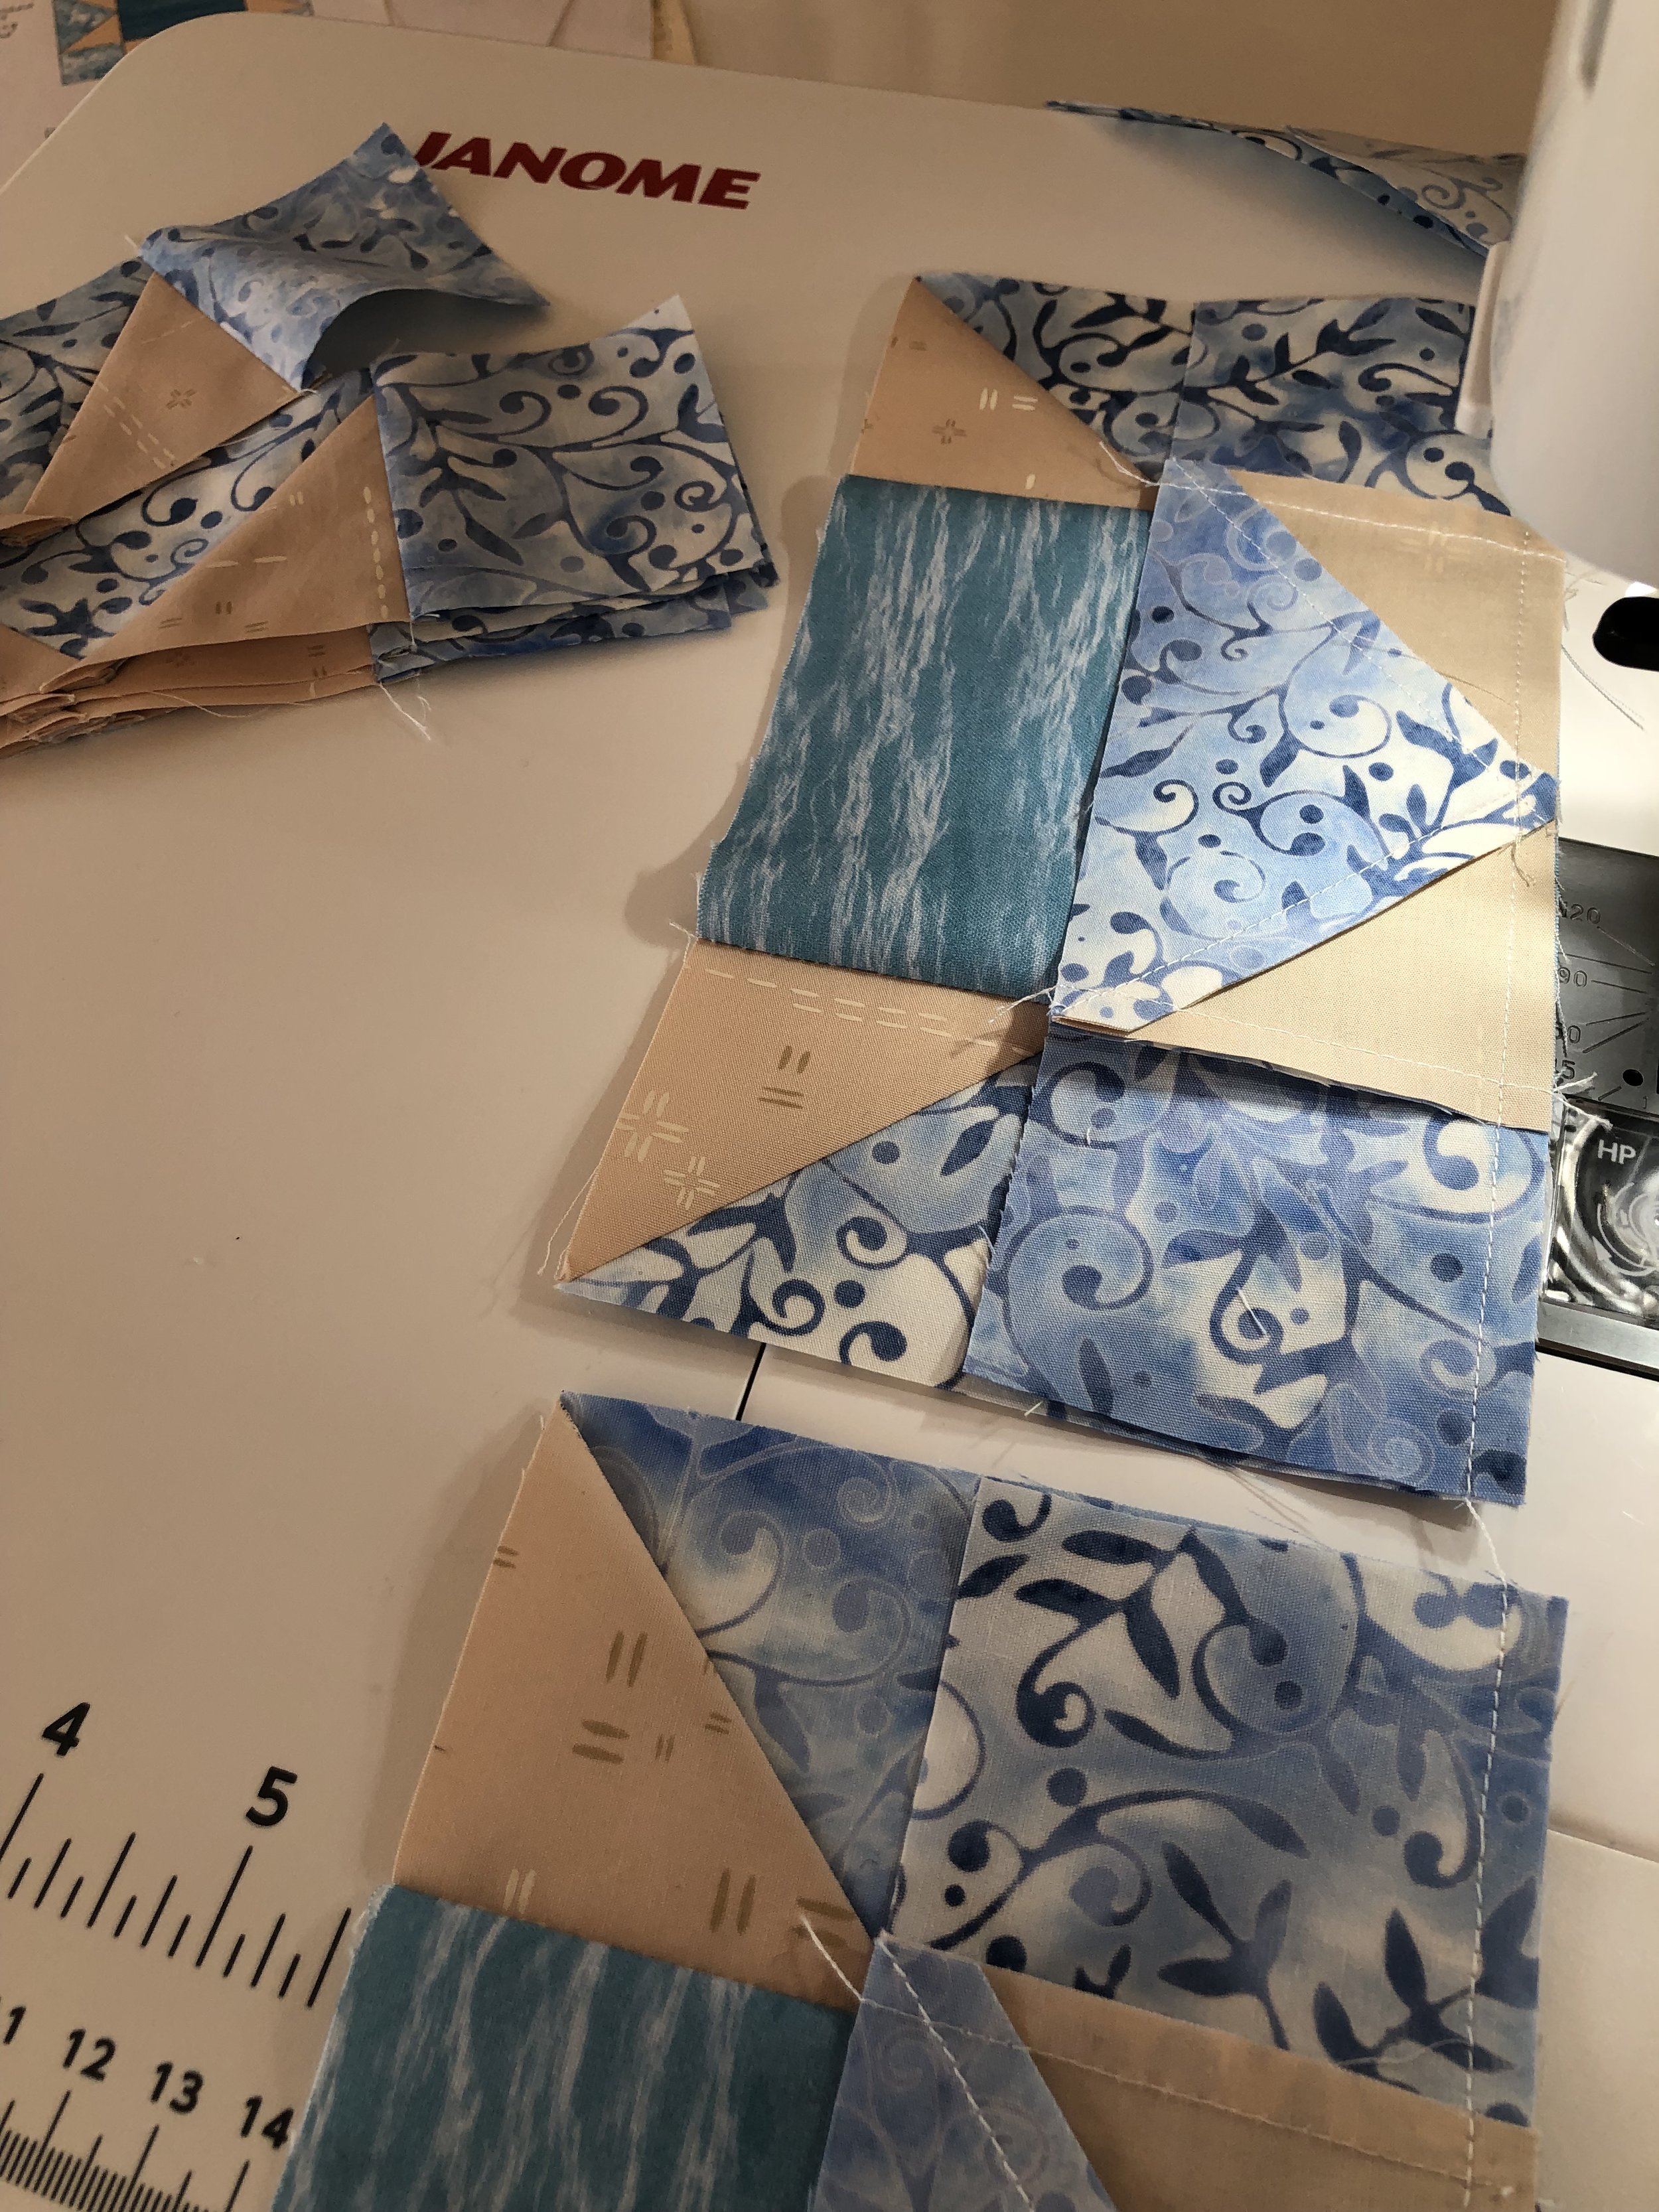
Remember the flying geese with the small squares on each side?
Now we can add those to the top and bottom.
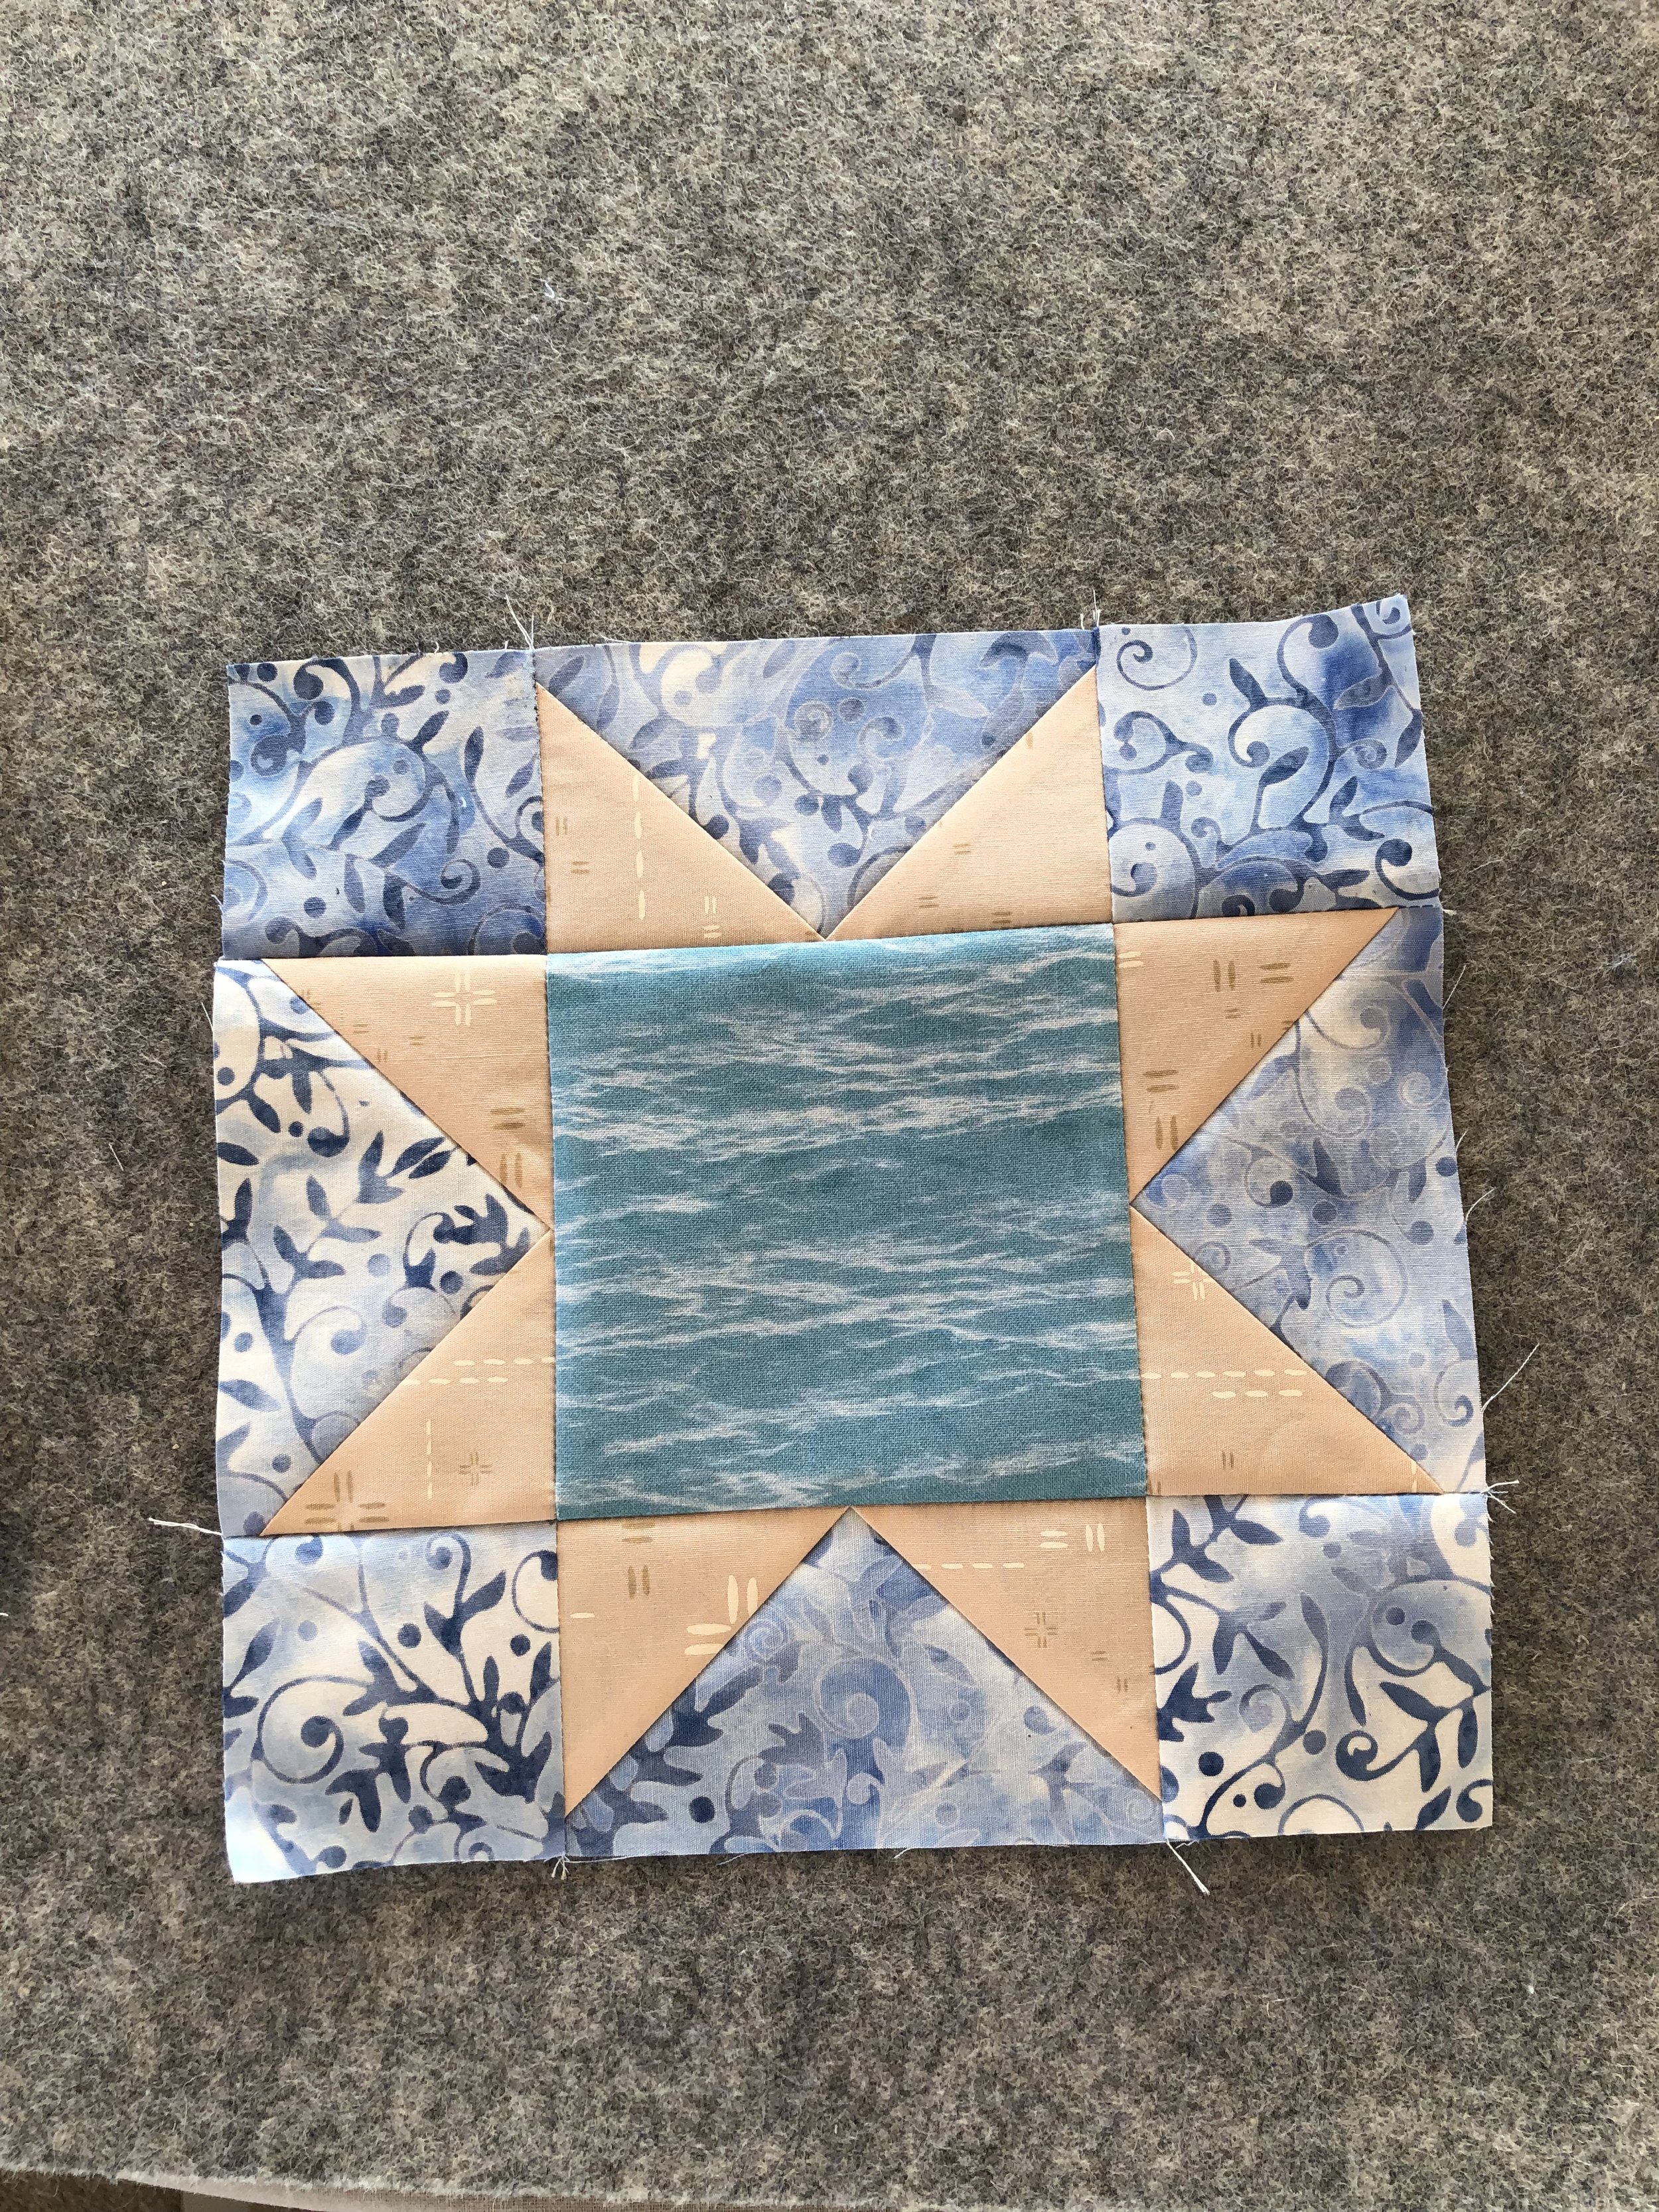
And Wah-Lah! We have a star block!
This quilt has an abundance of sashing and cornerstones. After all the star blocks are complete I spent some time move blocks the smaller 4” blocks around on the design board. I know it’s a little weird at this point. I think I just needed a bit of time to play!

If you look close you see pins everywhere. UGH! The pieces kept falling off the flannel. My next design wall will have batting again. No more flannel. Anyway, sorry about that small detour!
With the 4” blocks right where I want them, I stitch them all together. Sorry….no pictures!
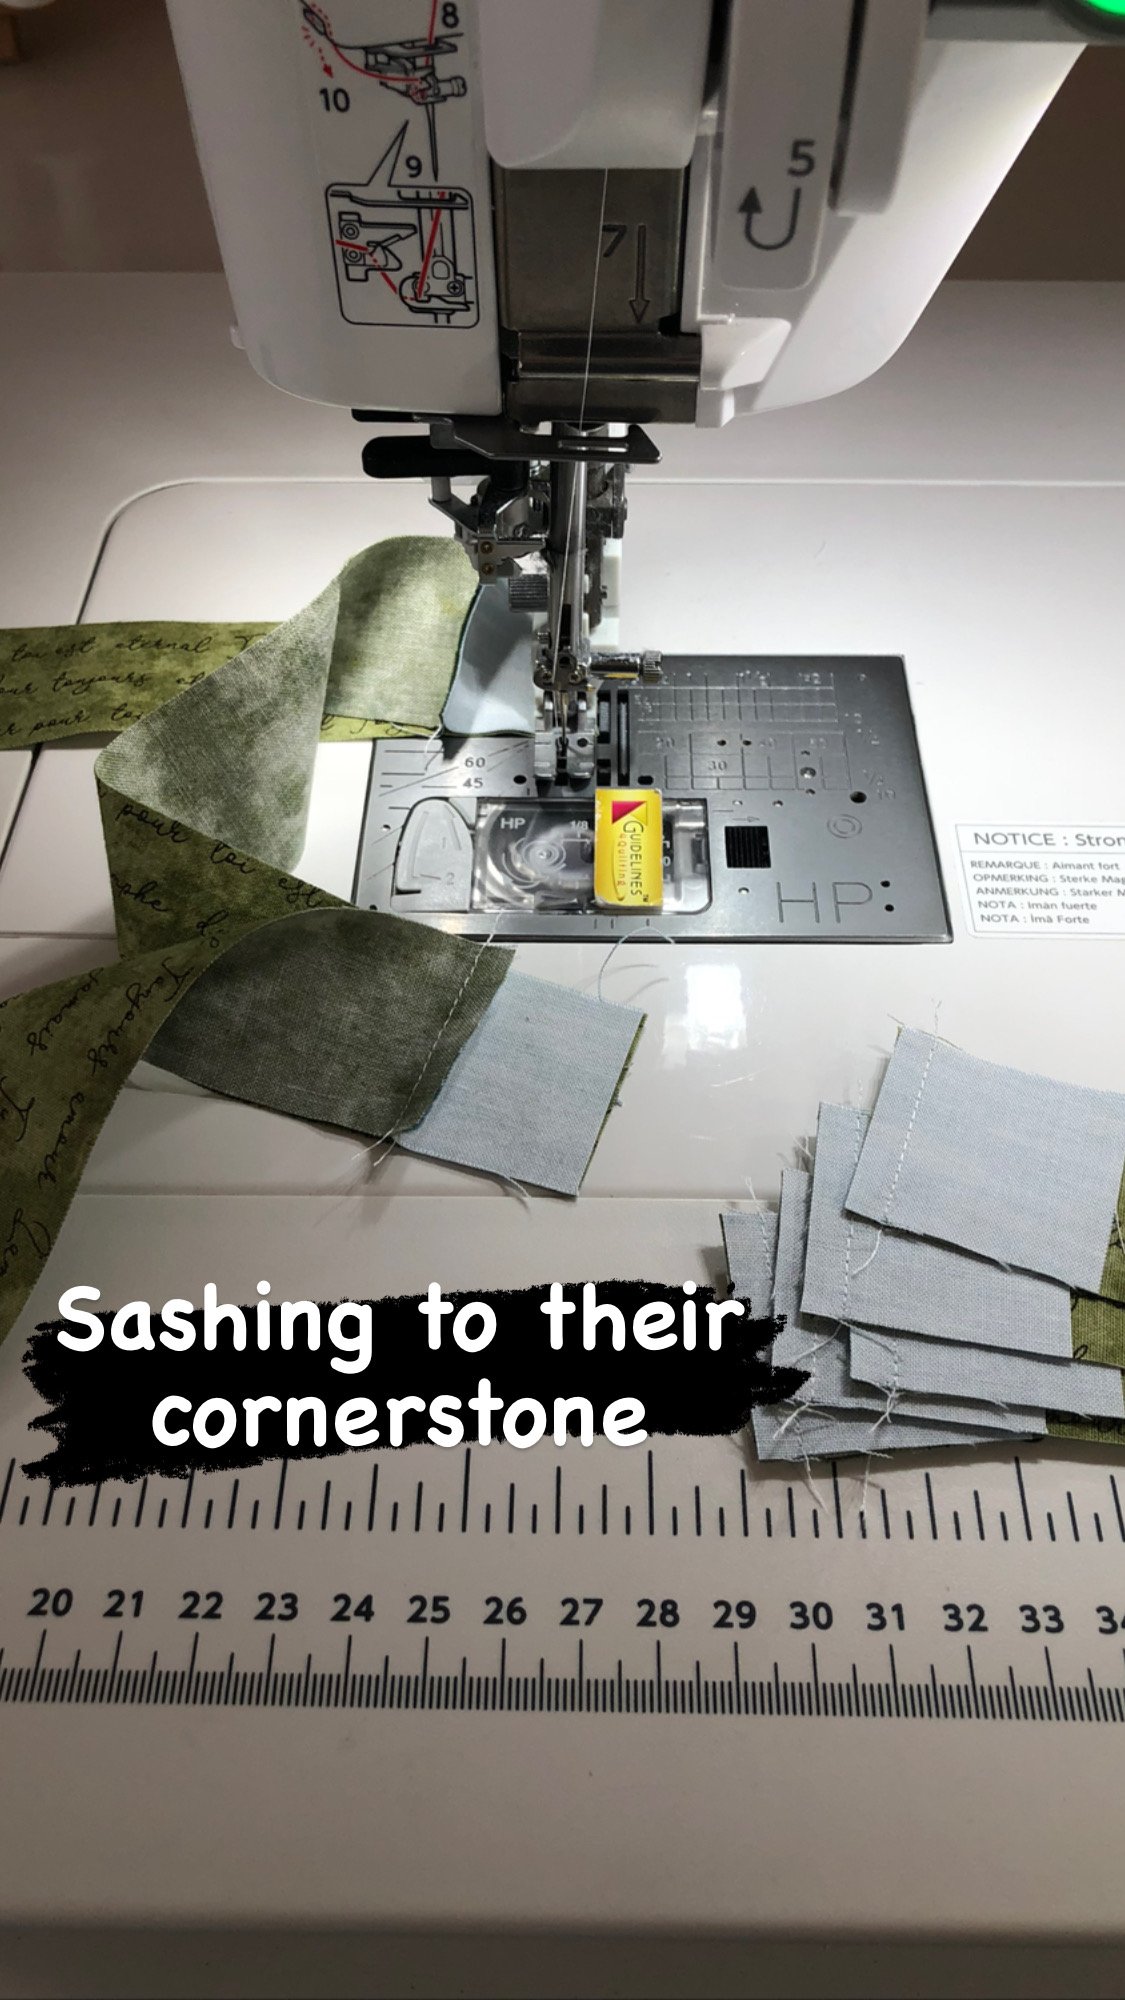
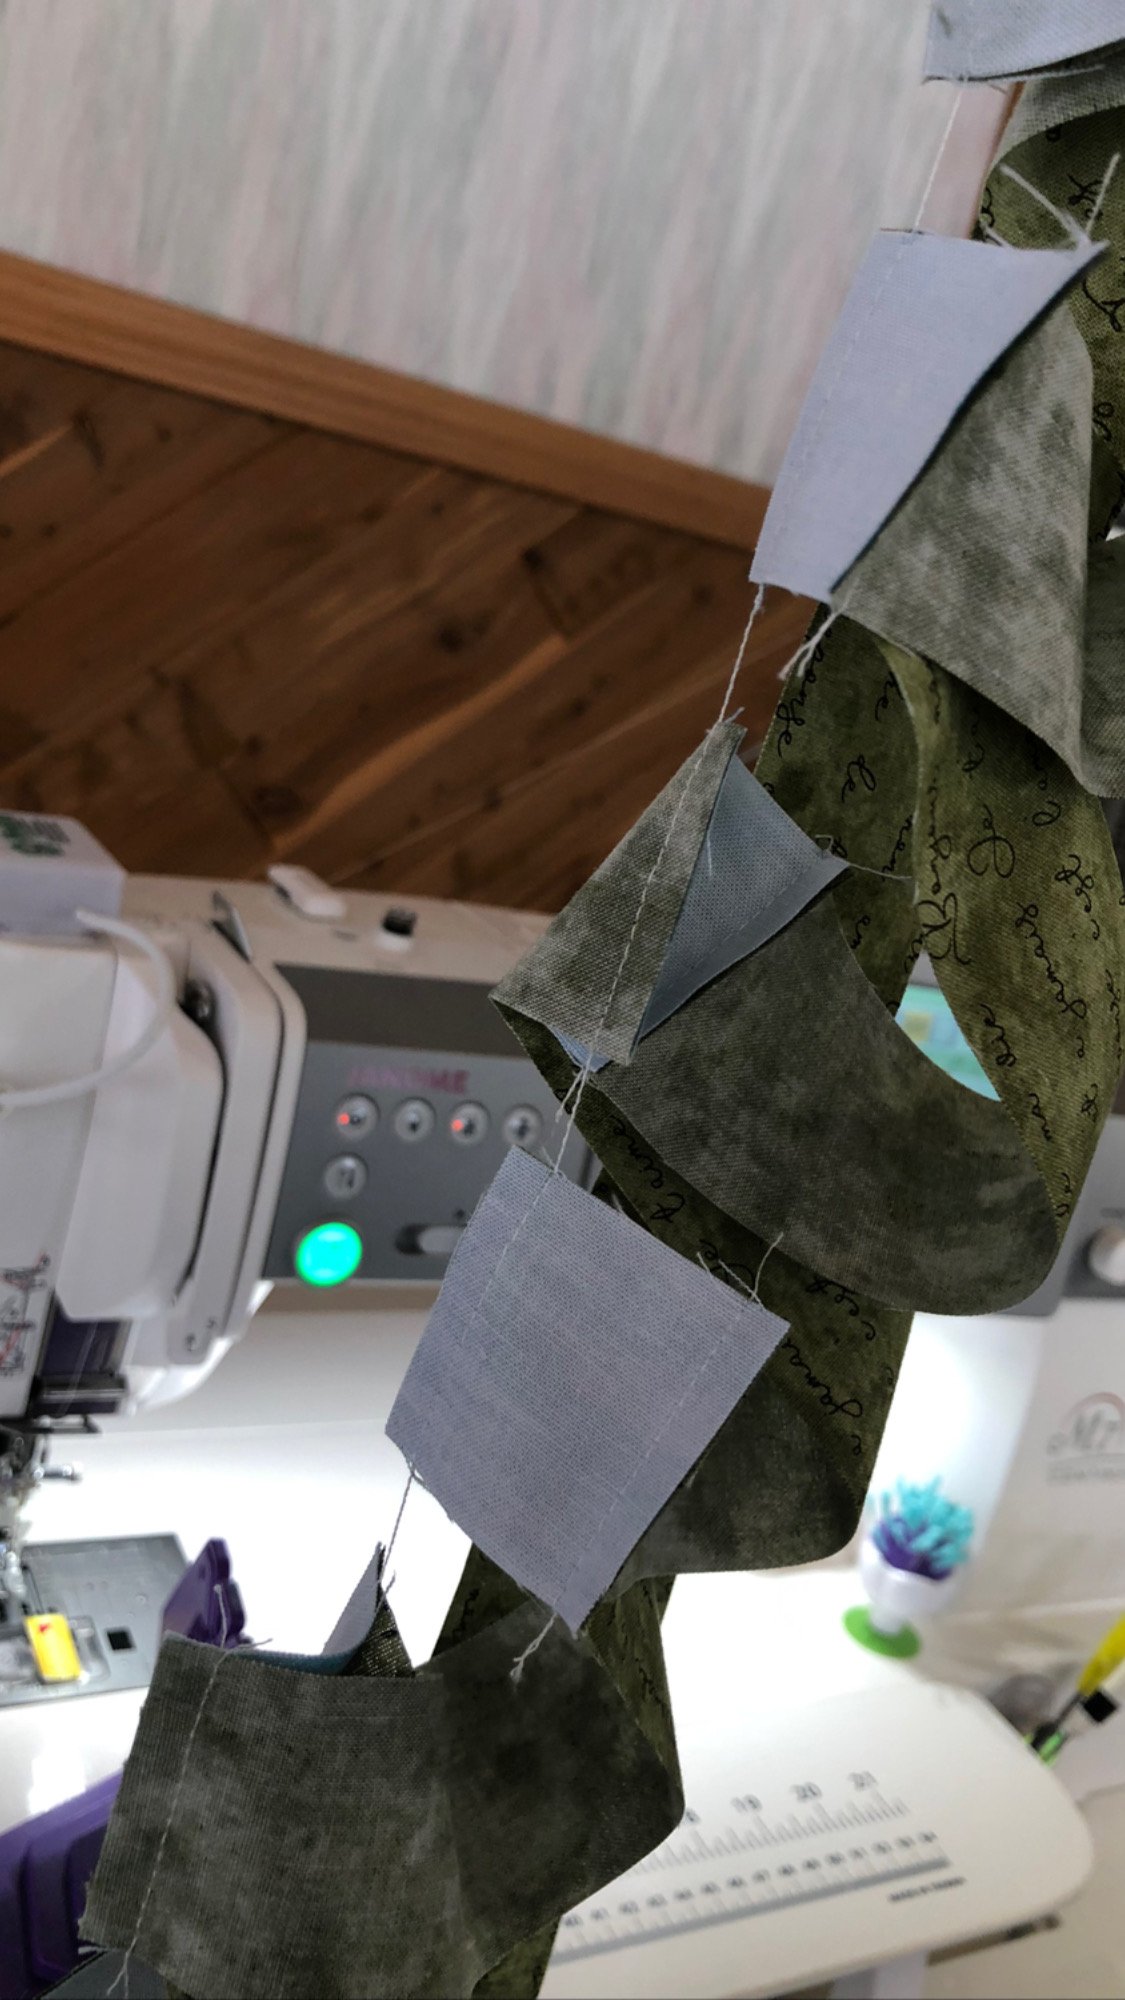
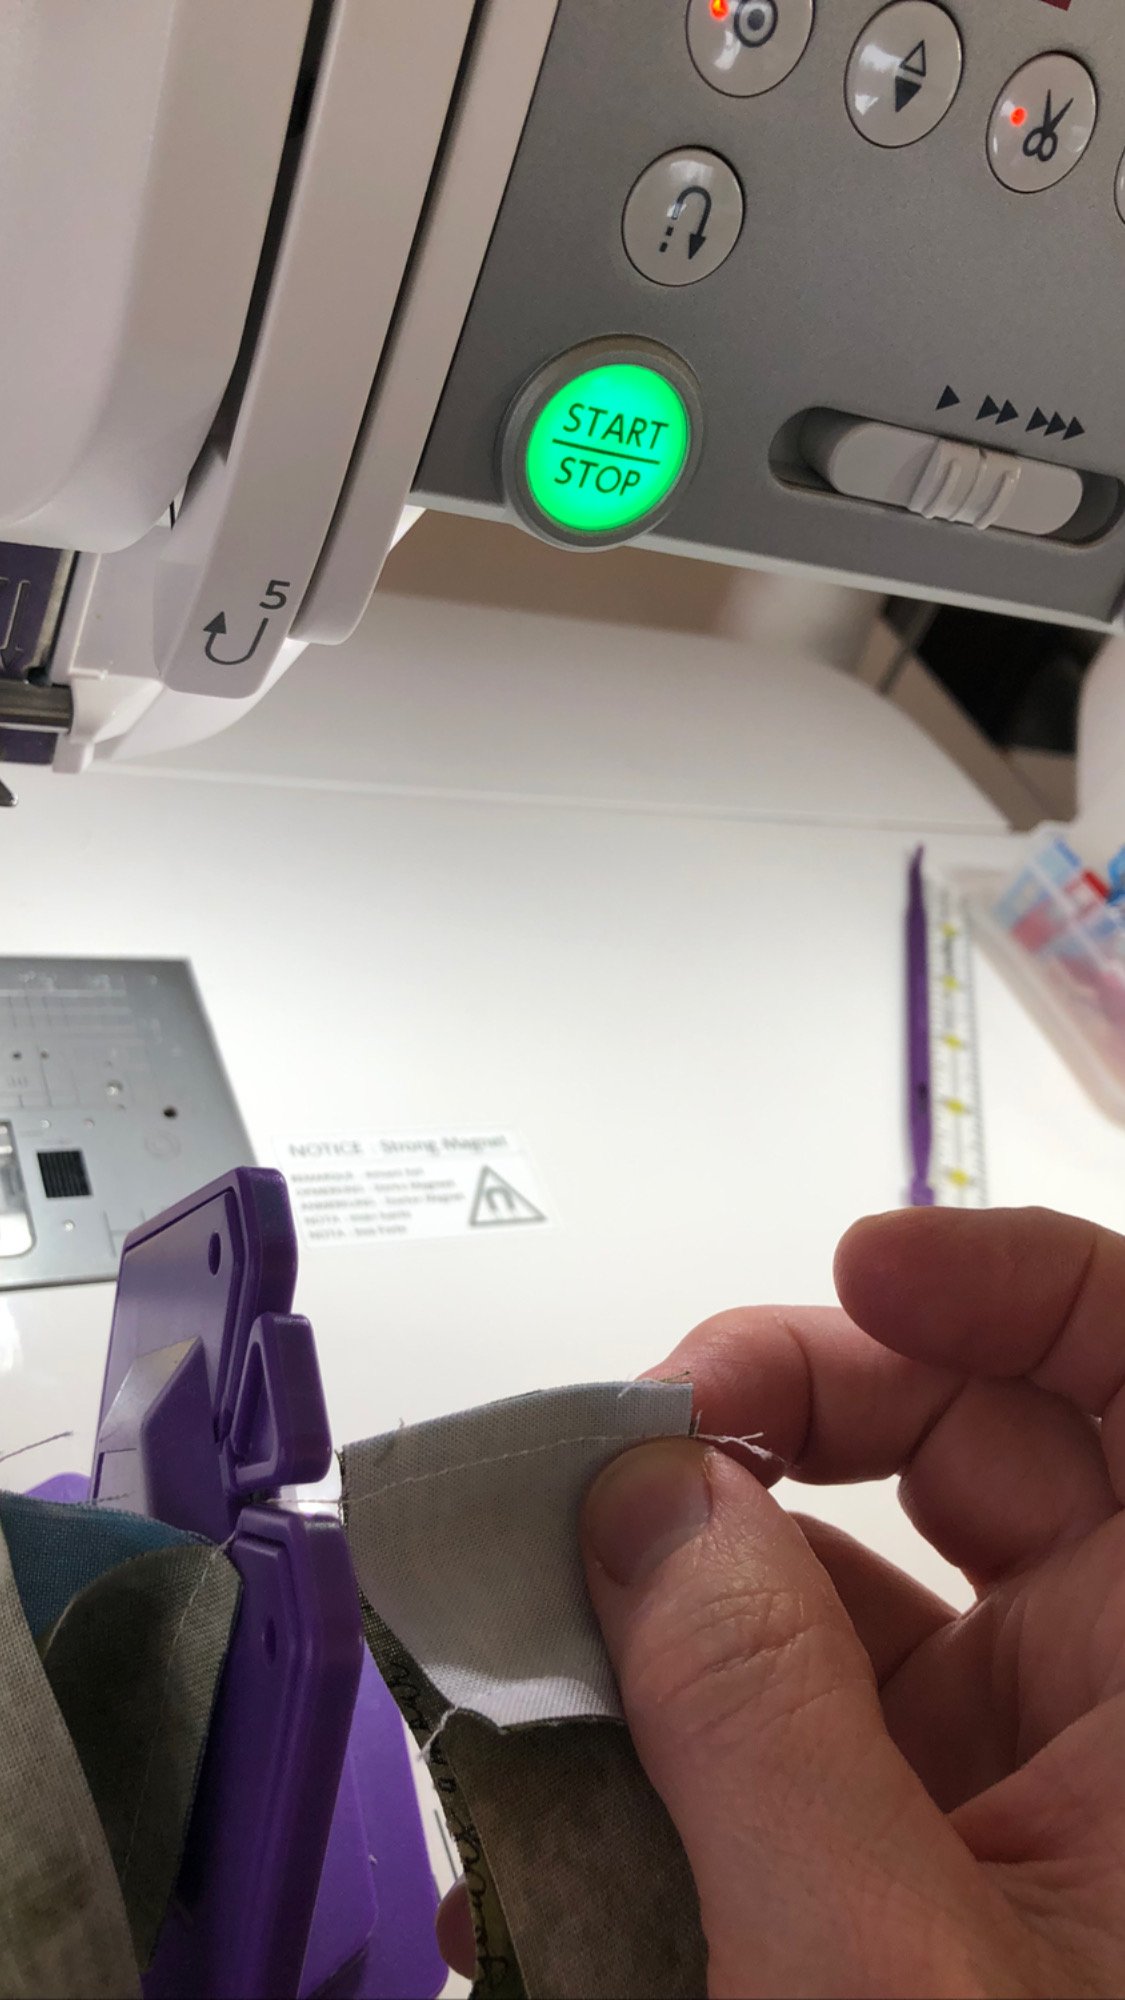
The sashing….right…gotta love chain piecing!
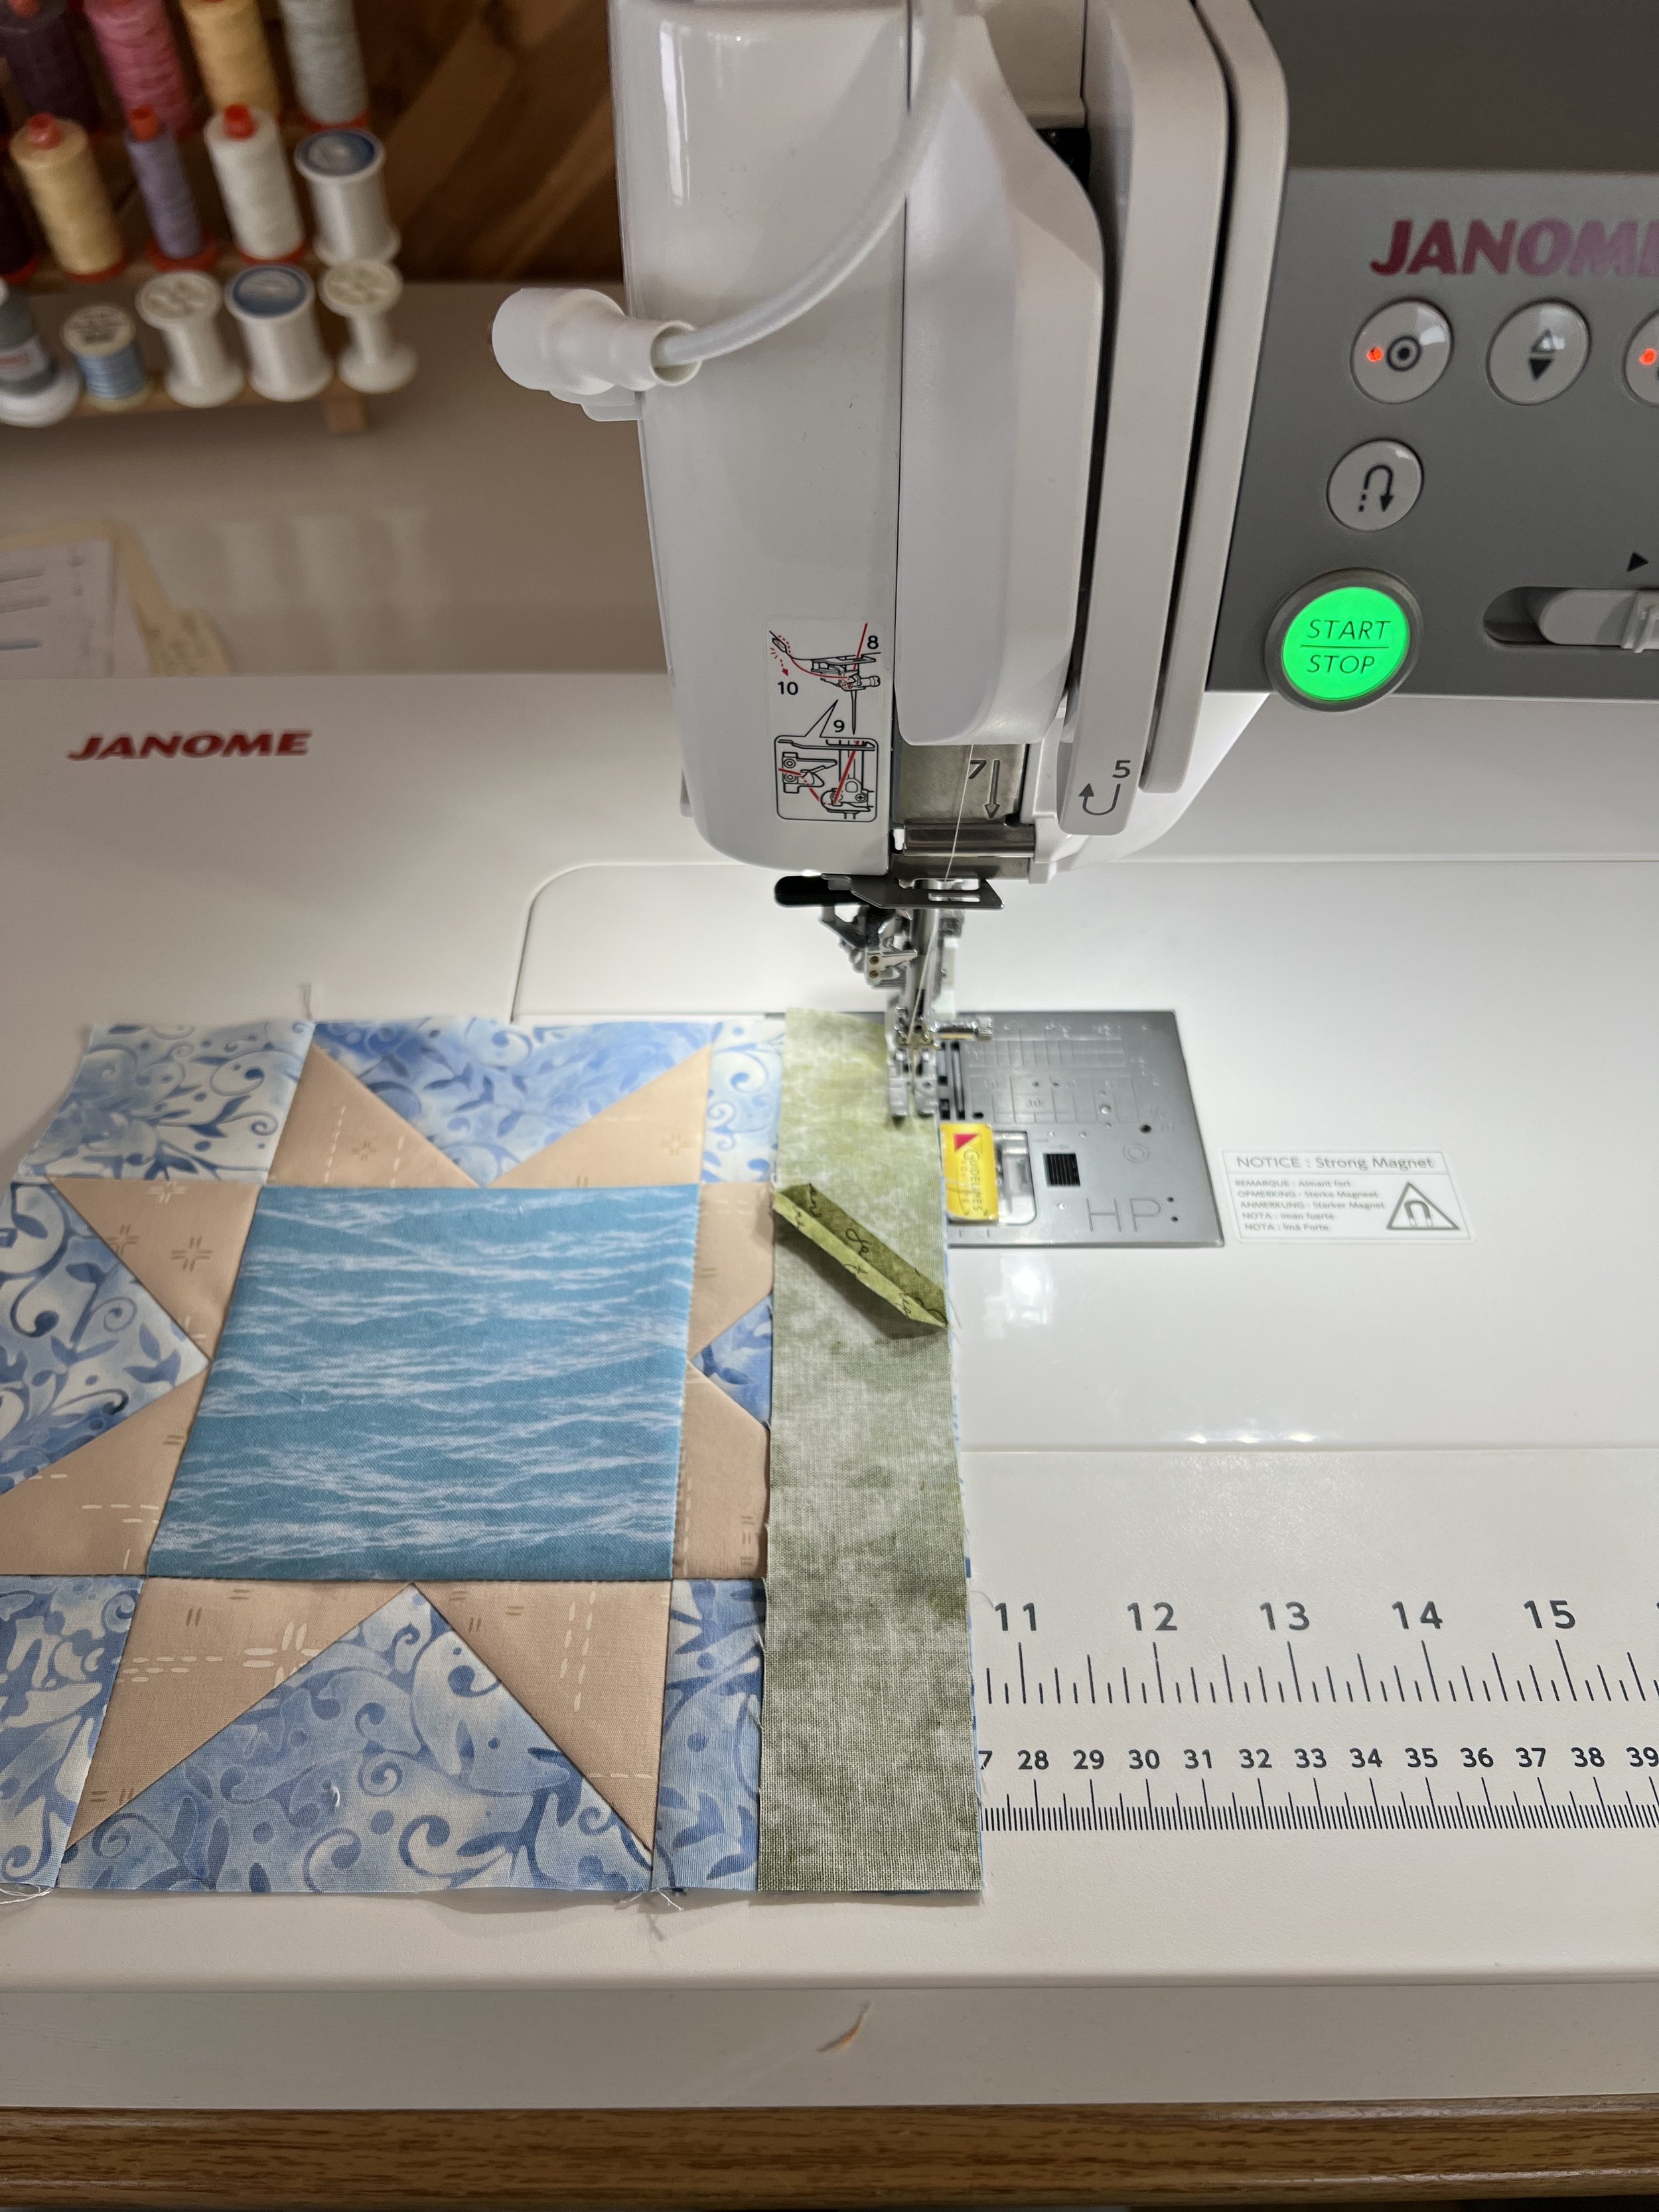
Let’s add the sashing strips to the blocks themselves.
And please give no nevermind to that bit of extra piecing. Was a tad short on fabric and made do. I don’t think it will be too obvious amongst all the other sashing pieces.
This quilt was relatively easy and fun! As I said before, it’s the prep that takes much more time than the actual construction. I’ll let you know when it gets quilted!

Quilt top all assembled with borders

Quilt back all assembled
Dream it Make it
〰️
Dream it Make it 〰️
Next time I plan to get a post out much sooner than this one. I’ll take you through the journey of the next quilt I had in my queue!
If you have questions or comments about this quilt or anything quilt related, please leave a note in the comments.
Much love,
Carolyn